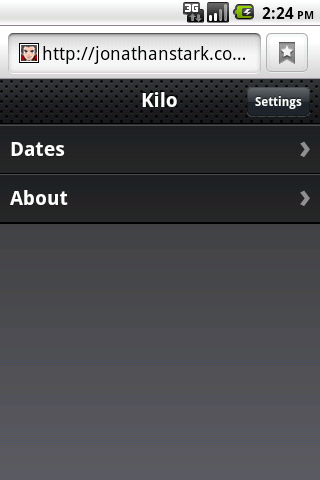
We haven’t yet created a button that will allow users to navigate to a
Settings panel, so let’s add one to the toolbar on the Home panel. All it
takes is a single line of HTML, shown in bold:<div id="home">
<div class="toolbar">
<h1>Kilo</h1>
<a class="button flip" href="#settings">Settings</a>
</div>
<ul class="edgetoedge">
<li class="arrow"><a href="#dates">Dates</a></li>
<li class="arrow"><a href="#about">About</a></li>
</ul>
</div>
... remaining HTML not shown ...
After working on the New Entry panel, the HTML
for the Settings panel is going to look pretty similar (Example 1). There is one more text input and
some of the attributes have been
omitted or have different values, but conceptually they are identical. Add
this to your HTML document just as you’ve done with the HTML for the other
panels.
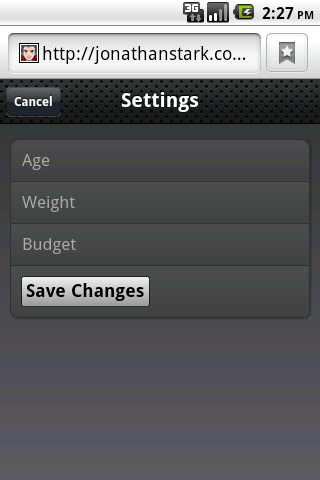
As with the New Entry form, the Settings form
does not currently save any of the information associated with it (see
Figure 2).
Example 1. The HTML for the Settings Panel
<div id="settings">
    <div class="toolbar">
        <h1>Settings</h1>
        <a class="button cancel" href="#">Cancel</a>
    </div>
    <form method="post">
        <ul class="rounded">
            <li><input placeholder="Age" type="text" name="age" id="age" /></li>
            <li><input placeholder="Weight" type="text" name="weight" id="weight" /></li>
            <li><input placeholder="Budget" type="text" name="budget" id="budget" /></li>
            <li><input type="submit" class="submit" name="action"
                 value="Save Changes" /></li>
        </ul>
    </form>
</div>
|